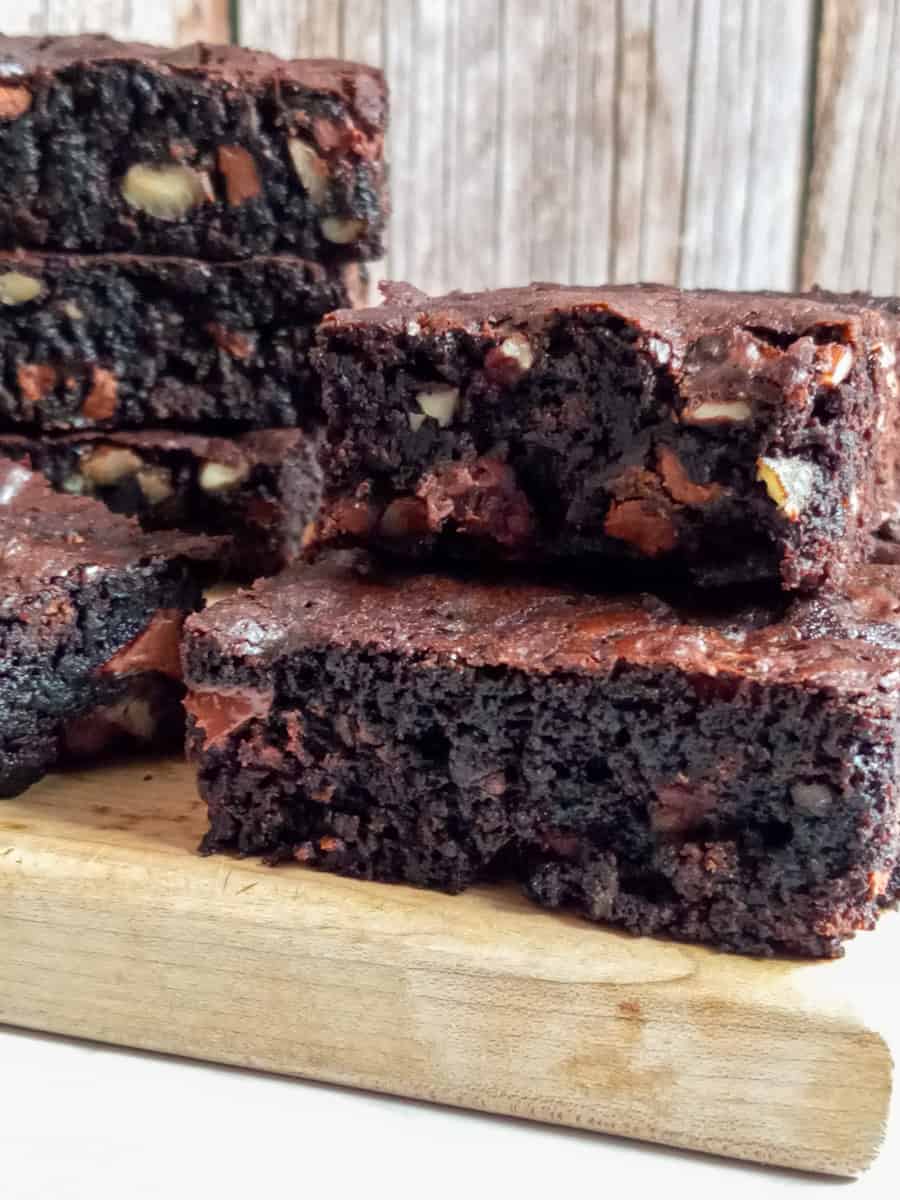
Amish Homemade Brownies with Cocoa Powder
Easy homemade brownies are a quick and simple way to satisfy your sweet tooth without having to spend too much time in the kitchen. These brownies are perfect for those who want to enjoy a delicious treat without having to worry about complicated recipes or hard-to-find ingredients.
To make homemade brownies, you will need just a few basic ingredients that you probably already have in your pantry. And this Amish brownie recipe makes the moistest, and most rich brownies ever!
This post contains affiliate links...
Chocolate Brownies
If you're a fan of chocolate, then you know that there's nothing quite like a delicious brownie. And when it comes to brownies, there's nothing better than a moist, fudgy, homemade brownie. (Try my coffee brownies with coffee frosting.)
Homemade brownies are not only easy to make, but they're also healthier and more satisfying than store-bought ones.
Brownies from Scratch
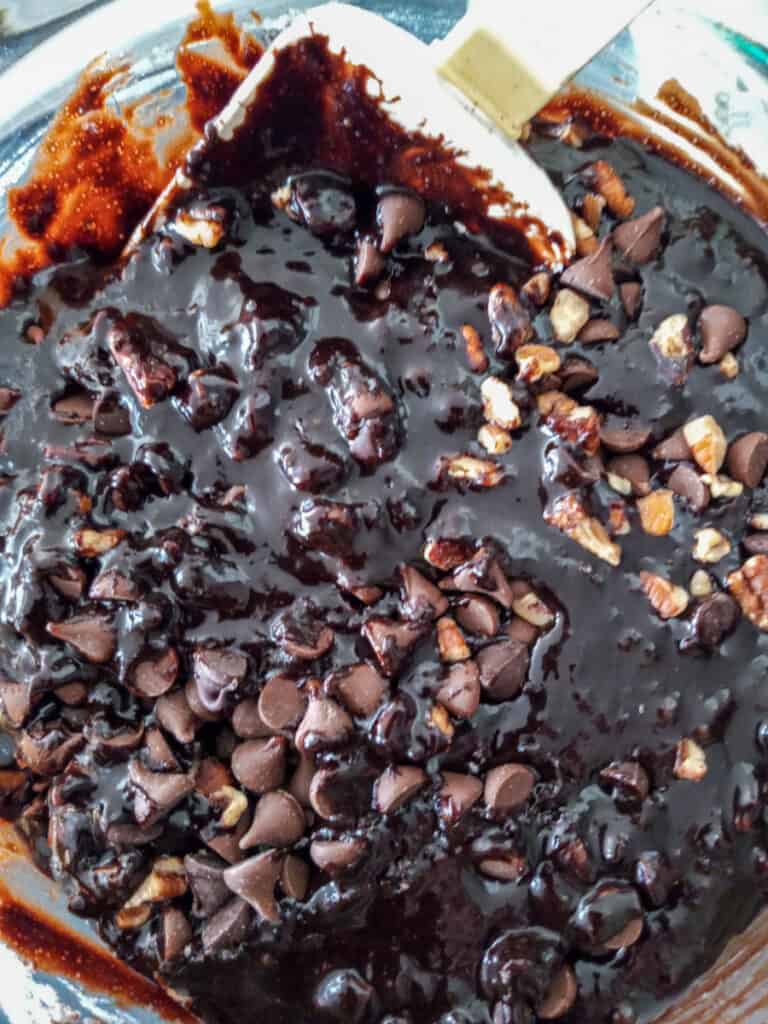
To make these double chocolate brownies, begin by mixing the cocoa powder, baking soda, and melted butter. Whisk to combine, then add the boiling water and whisk again.
(I like to use dark cocoa and dark chocolate chips to make the best dark chocolate brownies. But you can use whichever you like.)
Whisk in the eggs and sugar, then stir in the remaining ingredients and bake.
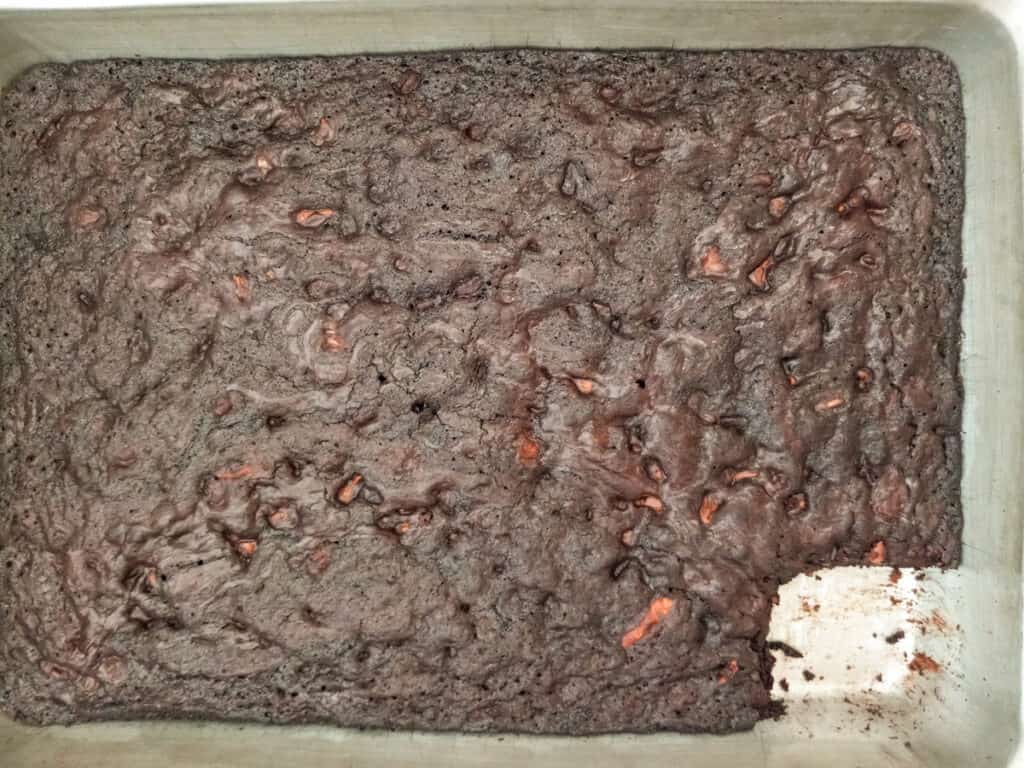
Now, this is where you make or break a great brownie. Overbaking brownies will take them from moist and delicious to dry and crunchy. So please do not overbake! Unless, of course, you like dry and crunchy.
How Long to Bake Brownies in a 9x13" Pan
I like my brownies slightly gooey and have found that 32 minutes is perfect for my oven. But there is a difference in ovens, so your baking time may vary a bit. You can check for doneness by inserting a sharp knife into the center and see if it's still gooey or looks baked.
If you can get the baking time right, the result will be a batch of amazing, moist homemade brownies that are sure to satisfy your chocolate cravings. They're perfect for serving as a dessert, or as a sweet treat to enjoy any time of the day.
How to Use Brownies
A large batch of brownies can be enjoyed in many ways! Here are a few ideas:
- Plain: Brownies are delicious on their own, so you can simply cut them into squares and enjoy them as a sweet treat.
- Topped with ice cream: Warm up a brownie in the microwave or oven, and top it with a scoop of vanilla ice cream. This makes for an easy and classic dessert.
- Brownie sundaes: Top your warm brownie with your favorite ice cream flavor, whipped cream, and any other toppings you like, such as sprinkles or chocolate sauce.
- Brownie bites: Cut the brownies into small squares and serve them as bite-sized treats at a party or gathering.
- Brownie trifle: Cut the brownies into small pieces and layer them with whipped cream and your favorite fruit in a trifle dish.
- Brownie milkshake: Blend a brownie with some vanilla ice cream, milk, and chocolate syrup to make a decadent and rich milkshake.
There are many other ways to use homemade brownies, so get creative and enjoy them however you like!
How to Store Homemade Brownies
Homemade brownies can be stored in an airtight container at room temperature or in the refrigerator for up to 4-5 days. Here are some tips for storing homemade brownies:
- Allow the brownies to cool completely before storing them.
- Place the brownies in a single layer in an airtight container. If you need to stack the brownies, separate them with a layer of parchment paper or wax paper to prevent sticking.
- If you live in a humid environment, it's best to store the brownies in the refrigerator to prevent them from getting too moist.
- You can also freeze brownies for up to 3 months. Place them in a freezer-safe container or freezer bag.
- When you're ready to eat the brownies, allow them to thaw at room temperature for an hour or in the refrigerator overnight. If you want to enjoy warm brownies, you can reheat them in the microwave for a few seconds or in the oven at 350°F (175°C) for 5-10 minutes.
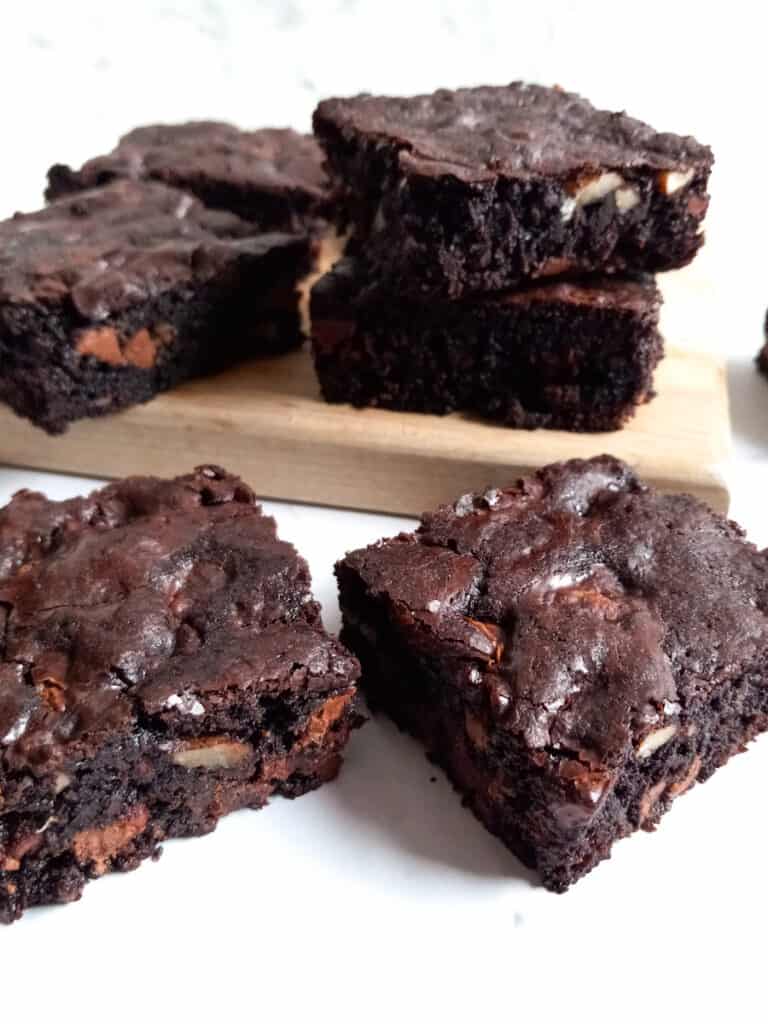
This Amish recipe for easy homemade brownies makes a 9x13" pan of the best, most moist, fudgy, and satisfying chocolate brownies ever! If you try them, I'd love it if you left a comment and star rating below.
Amish Double Chocolate Brownies Recipe
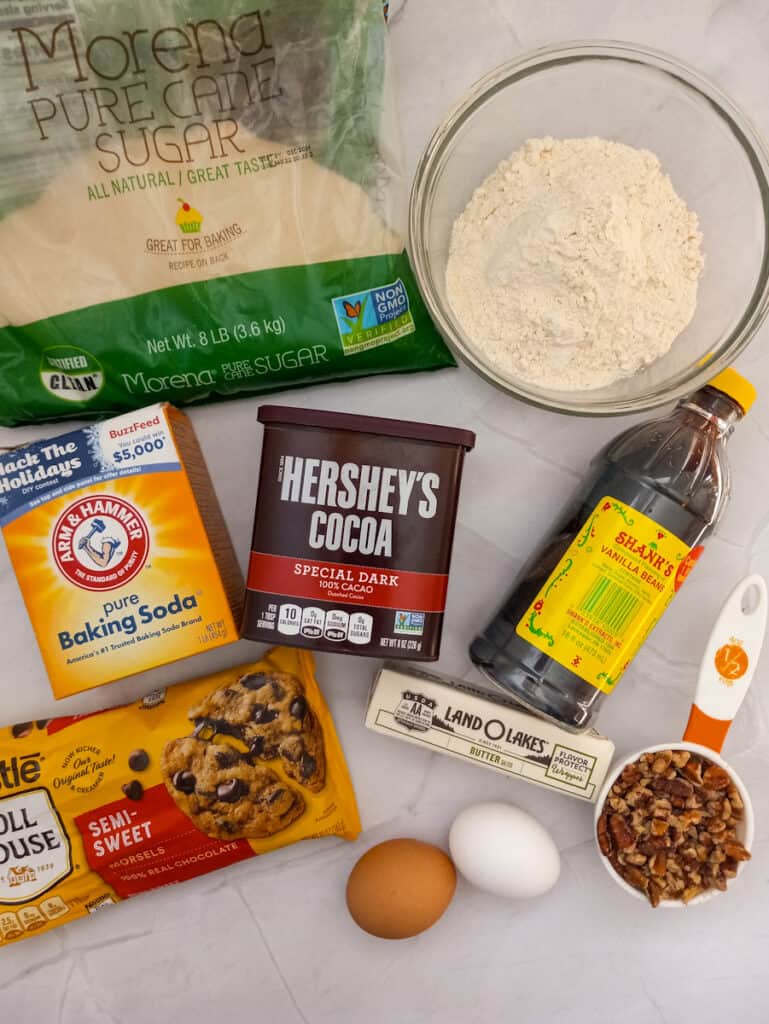
Ingredients
- 3/4 c. cocoa powder
- 1/2 tsp. baking soda
- 2/3 c. melted butter (approx. 11 Tbsp.)
- 1/2 c. boiling water
- 1 3/4 c. sugar
- 2 large eggs
- 1 tsp. vanilla extract
- 1 1/3 c. all-purpose flour
- 1 tsp. salt
- 1/2 c. coarsley chopped pecans
- 2 - 2 1/2 c. semisweet chocolate chips or chocolate chunks
Instructions
- Preheat the oven to 350°.
- In a large bowl, combine cocoa and baking soda, whisk in the melted butter.3/4 c. cocoa powder, 1/2 tsp. baking soda, 2/3 c. melted butter (approx. 11 Tbsp.)
- Add the boiling water and stir until blended.1/2 c. boiling water
- Whisk in the sugar, eggs, and vanilla.1 3/4 c. sugar, 2 large eggs, 1 tsp. vanilla extract
- Add the flour and salt and stir to combine. Then stir in the pecans and chocolate chips.1 1/3 c. all-purpose flour, 1 tsp. salt, 1/2 c. coarsley chopped pecans, 2 - 2 1/2 c. semisweet chocolate chips or chocolate chunks
- Pour the mixture into a well-greased 9x13" baking dish.
- Bake at 350° for 30 - 35 minutes.
- Cool, cut into bars, and store in an airtight container. You can also freeze some to keep them fresh for later.

Susan
I was looking for a homemade chewy, fudgy brownie recipe. This recipe yielded a very tasty, delicious chocolate cake, but it wasn't the chewy brownie texture I was looking for. It reminded me of a thicker version of chocolate sheet cake. Everyone loved it and thought it was cake, so I served it with vanilla ice cream. Thank you for the lovely recipe.
Anna
I'm sorry that it wasn't what you were looking for. Not sure why it seemed like cake because mine certainly are not cake texture.
RIMickie
Rich chocolate flavor. I used bittersweet chips instead of semi-sweet, and instead of water, I used boiling coffee. They freeze great, I think they taste better after freezing.
Anna
Using coffee is a great idea!
Diane
Do you suggest using a glass pan, aluminum or something else? Can’t wait to try these. Sounds simple yet delicious! Thank you!
Anna
When baking cake, bars, etc. I always prefer metal/aluminum. Glass is fine, but tends to dry it out a bit more.