Amish Layered Jello Recipe
Layered finger jello is a delicious and fun snack for any party! I mean who doesn't like finger jello? It's jiggly, squishy, and so much fun to eat.
And when you create layers of different flavors, it looks cool and tastes amazing! Making it a favorite with kids and adults alike.
Festive Party Jello
You can create festive layered jello for any occasion by using different colors and choosing whatever flavors you like.
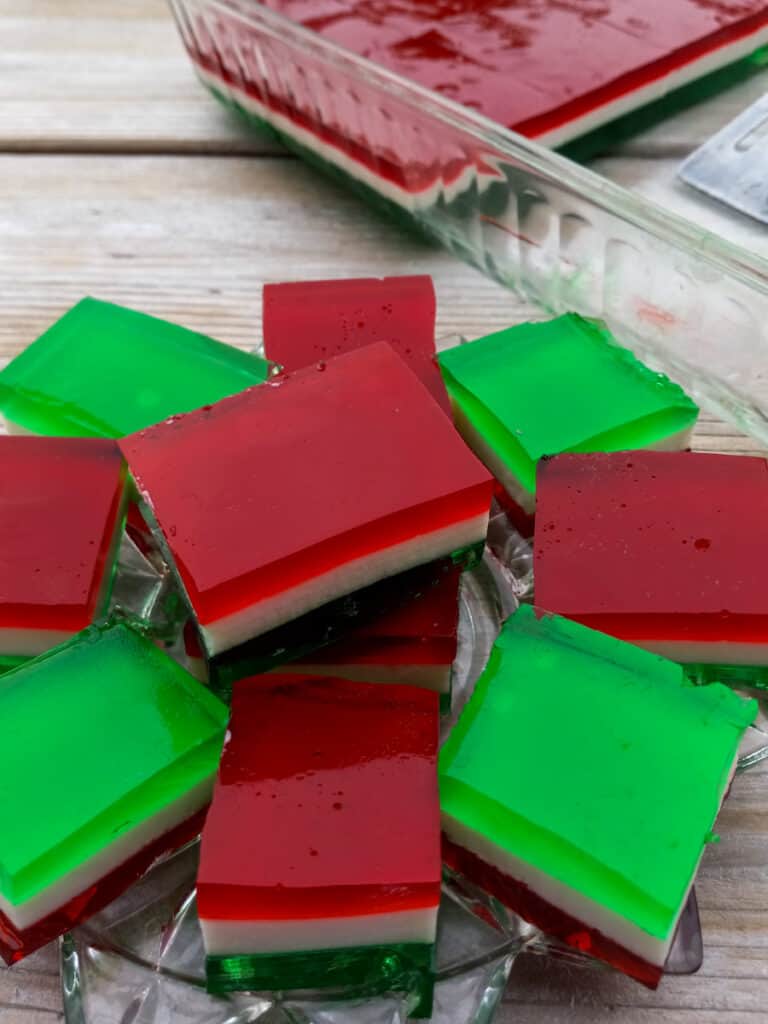
The middle layer is made with sour cream, milk, sugar, and unflavored gelatin. So it's your white layer. Then you can add the other two colors. Or feel free to add even more layers, if desired.
Make red, white, and blue finger jello for a 4th of July party.
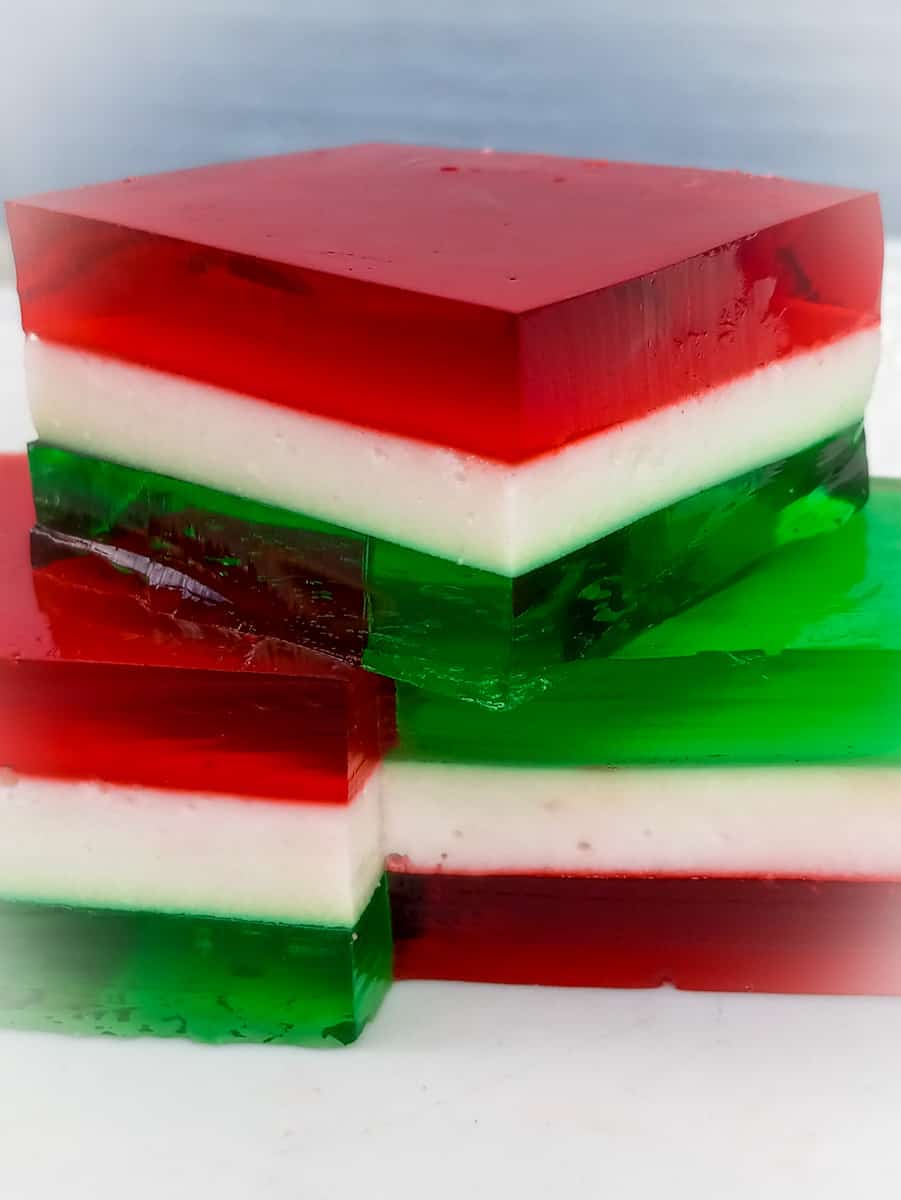
Use red and green to create a lovely and festive Christmas layered finger jello.
Or add your birthday party-themed colors for a fun birthday treat.
No matter what colors you use or where you serve this three-layer jello, it will be a hit with everyone.
Christmas Treats
Every Christmas, when I was with the New Order Amish youth group (in PA), we went Christmas caroling. We all bundled up and went on a hayride with a tractor and wagon.
We picked an area and went around to homes of the elderly, sick, or families that lost loved ones, etc. And we sang a few old-fashioned Christmas carols at each of those homes and left them with some Christmas treats.
(One year we made lots of plates of this delicious layered finger jello to pass out. And everyone seemed to love it. So here's another idea for layered jello.)
It always was a fun and festive night, and sometimes we barely kept ourselves from freezing. But then we went to someone's home afterward for hot chocolate and treats, and got all warmed up again before we had to head home with the horse and buggy.
Layered Jello with Sour Cream
There are lots of layered jello recipes that have sweetened condensed milk in the middle part.
But for some reason, I am not a big fan of sweetened condensed milk. It tastes too artificial and weirdly sweet.
So I prefer this recipe for layered jello with sour cream. It's one of those fun snacks that I can't stop eating.
And you will also find that the colored layers in this Amish recipe are made with only flavored gelatin and water. Some finger jello recipes include unflavored gelatin, which tends to give it a bit of a rubbery texture.
But these jello squares are very soft, yet firm enough to hold, making them completely irresistible.
This post contains affiliate links.
How to Make 3-Layered Jello
This easy layered finger jello is not hard to make. Although you will need to let each layer set in the fridge for about a half hour before adding the next layer so that the layers don't just run together.
However, it is best to add the next layer before the previous one is completely set because the layers will stick together better.
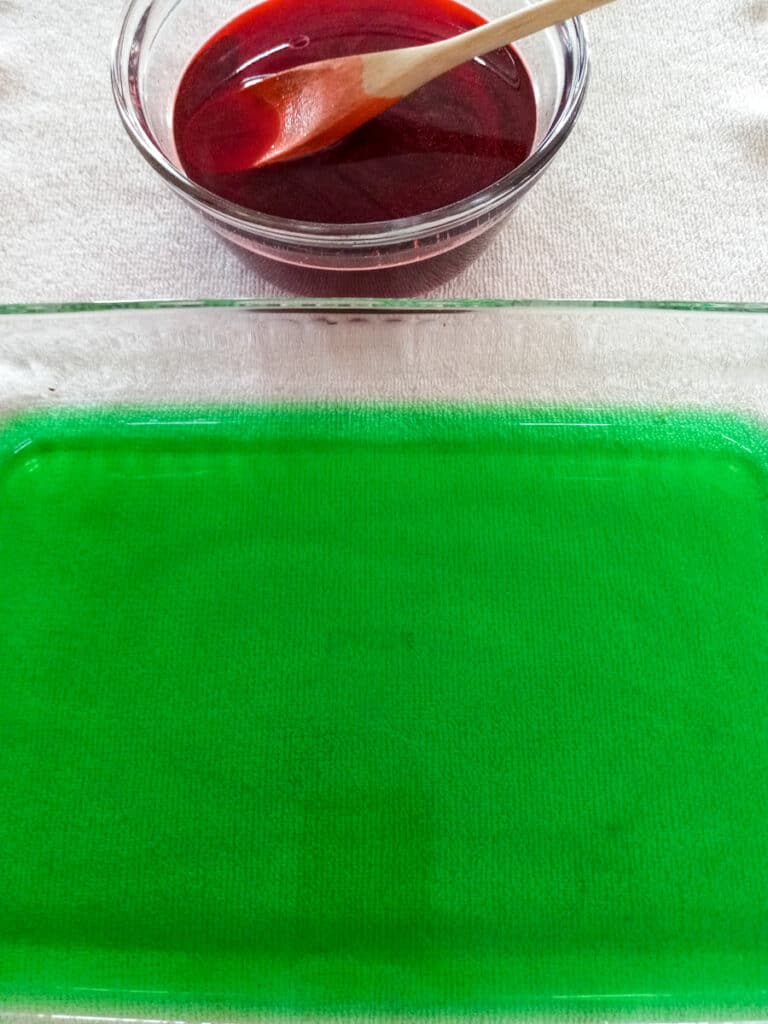
I start out by boiling enough water for both colored layers. Add the colored jellos to separate bowls and stir in the boiling water until dissolved.
Pour one of the jello flavors into a 9 x 13" pan and refrigerate. (Make sure your pan sits level.) And set your timer for about 30 minutes.
Place the other jello bowl into the fridge to cool, but make sure you remove it from the fridge before it starts to gel.
Since you will need to bring the milk to boiling and then give it time to cool, you want to immediately start the middle layer.
Whenever I have made this, it only took about 30 minutes for the first layer to chill, and then you add the next layer.
Beings the next layer (the white layer) is already cooled before adding it, it will only take about 20 minutes for it to set enough to add the top layer.
Holiday Finger Food
I like to cut my finger jello into small squares (about 1 1/4 - 1 1/2 inches). And you may need a mini serving spatula to remove these from the pan.
But this fun layered jello is a great idea for taking to parties.
And if you're having a big party, you may need to double the recipe and make two pans. Because these cute jello squares seem to disappear quickly.
I hope you try this recipe and love these festive treats as much as we do. Let me know in the comments below. I would love to hear from you.
More Amish Holiday Snacks
The Best Caramel Popcorn Recipe
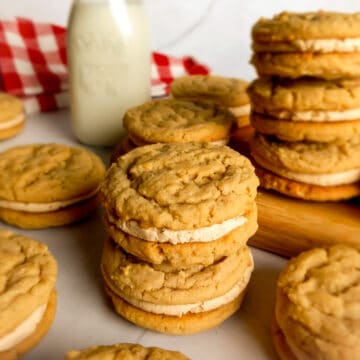
Homemade Rice Krispy Peanut Butter Balls
Date and Nut Pinwheel Cookies Recipe
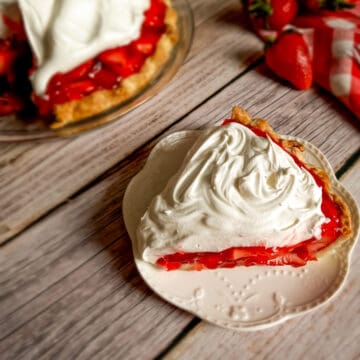
And maybe you'd also like to try another Christmas layered jello recipe for ribbon salad.
Layered Finger Jello (Amish Recipe)
Ingredients
Bottom Layer:
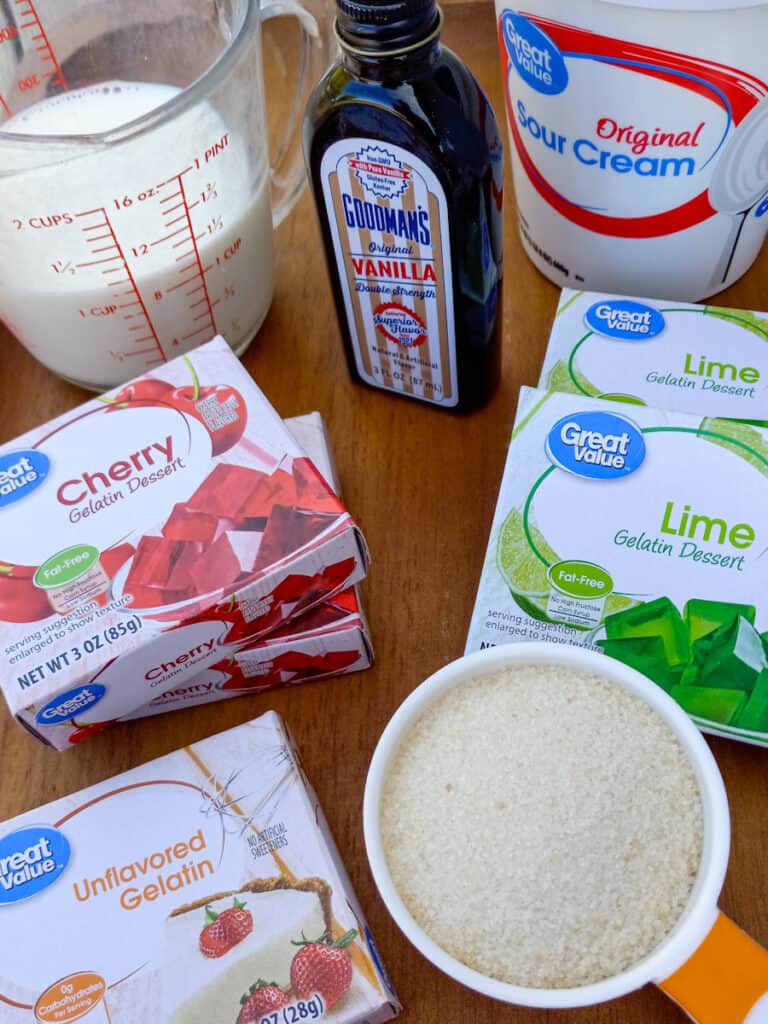
- 2 (3 oz.) boxes Jello of choice, or 1 (6 oz.) box
- 1 3/4 c. boiling water
Middle Layer:
- 1 c. milk
- 1/2 c. sugar
- 1 envelope unflavored gelatin (scant 1 Tbsp.)
- 1/4 c. cold water
- 1 c. sour cream
- 1 tsp. vanilla extract
Top Layer:
- 2 (3 oz.) boxes Jello of choice, or 1 (6 oz.) box
- 1 3/4 c. boiling water
Instructions
- Boil water.
- Place each flavor of jello in a separate bowl. Add 1 3/4 cups of boiling water to each bowl. Stir until dissolved.2 (3 oz.) boxes Jello of choice, or 1 (6 oz.) box, 1 3/4 c. boiling water, 2 (3 oz.) boxes Jello of choice, or 1 (6 oz.) box, 1 3/4 c. boiling water
- Pour your bottom layer of jello into a 9x13" pan. Place it into the refrigerator, making sure it sits level, and chill until it's firm enough to hold the weight of the next layer. (It takes mine about 30 minutes.)
- Place the jello for the top layer into the fridge to cool but make sure that you remove it from the fridge before it starts to set.
For the middle layer:
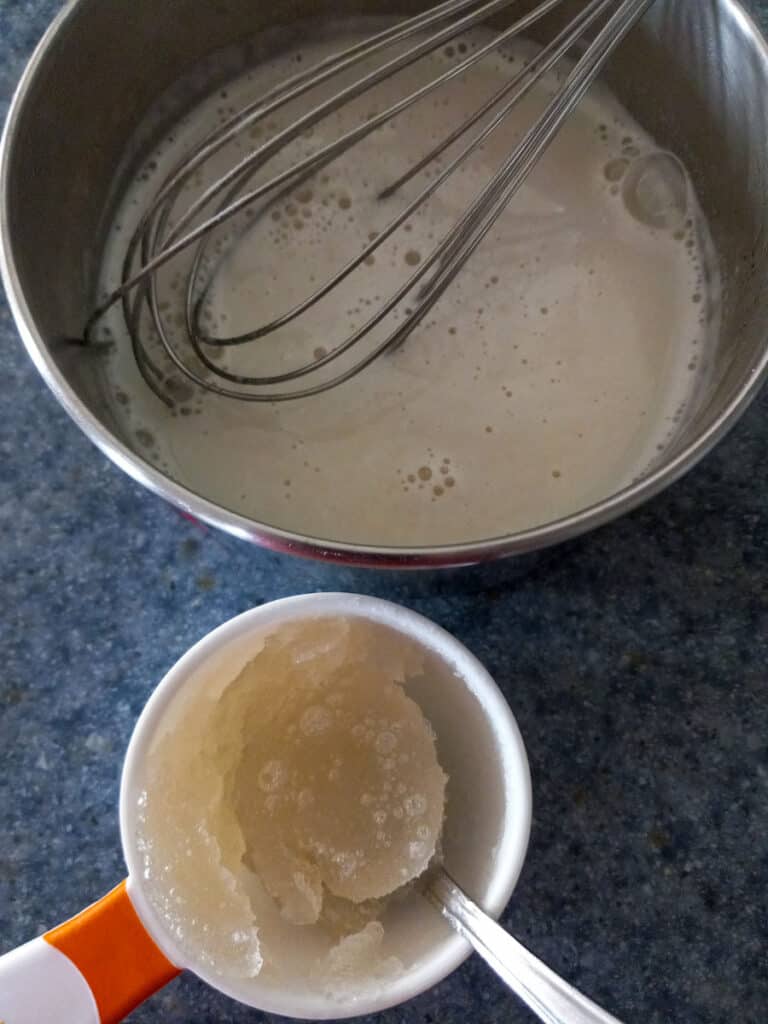
- Place the milk into a saucepan and sprinkle the sugar over the top. Do not stir. Bring to a boil.1 c. milk, 1/2 c. sugar
- Add the unflavored gelatin to the cold water and stir. Let it sit for a couple of minutes.1 envelope unflavored gelatin (scant 1 Tbsp.), 1/4 c. cold water
- When the milk comes to a boil, remove it from the heat and add the dissolved unflavored gelatin, sour cream, and vanilla. Whisk to combine.1 c. sour cream, 1 tsp. vanilla extract
- Place it into the fridge or set it in a bowl of ice water to cool.
- Pour the cooled (but still liquid) white layer over the bottom layer once it has set. Refrigerate until it's firm enough to hold the weight of the next layer. (It takes mine about 25 minutes.)
- Pour the second layer of jello over the top and refrigerate until firm.
- Cut into little squares and serve.
- Refrigerate for up to five days. (It may be ok even longer, but mine never lasts long enough to see how long it would take for it to go bad. ☺)


Teridactyl
It tastes delicious but there was no way that anything less than 35-40 minutes for the second layer to set would be long enough because I put on the third layer and it punctured holes all over my white creamy layer and messed up my dessert. I should have waited more than 30 minutes. I do love this recipe but quite frankly I find it maddening to make. I can never get the 3rd layer on without the white layer bleeding through or getting full of pour holes even when I sloooowly pour over a spoon. I'm giving up. I miss Jello 1-2-3...that was so easy and so good!!
Anna
I'm sorry that it didn't work for you. I only gave the times as a reference point. Mine was ready for the next layer in that amount of time, but you will have to be the judge as to when it seems firm enough for the next layer. Did you make sure that the jello was cool enough before pouring it on? You don't want to add warm jello.
Angie Kauenhofen
This is yummy but I suggest that the bottom layer set longer than 30 mins as when you pour the heavier milky mixture on top it won’t mix in. That’s what happened to me. The sour cream mix is too heavy.
Sue
How long should you let it set in fridge before adding 2nd cream layer? Thx!
Anna
As stated in the instructions, I refrigerated mine for approx. 30 minutes before adding the cooled second layer. You want it to be set enough to hold its weight. But if it sets too firmly, the layers will not stick together as well.